
From 1997 to 2007 we owned a Hampton 35 trawler, similar in arrangement to our current DeFever 41 but a bit smaller in all dimensions. One of the projects in common with both boats was the removal and replacement of saloon windows (the earlier trawler due to leaks, the current trawler due to cracked glass from “butt push”).
I can’t find the photos I know I took of the replacement of the glass on our current trawler, but I do have the photos of the work on our former trawler. These photos and comments apply equally to both projects as the windows and framing were very similar on each.
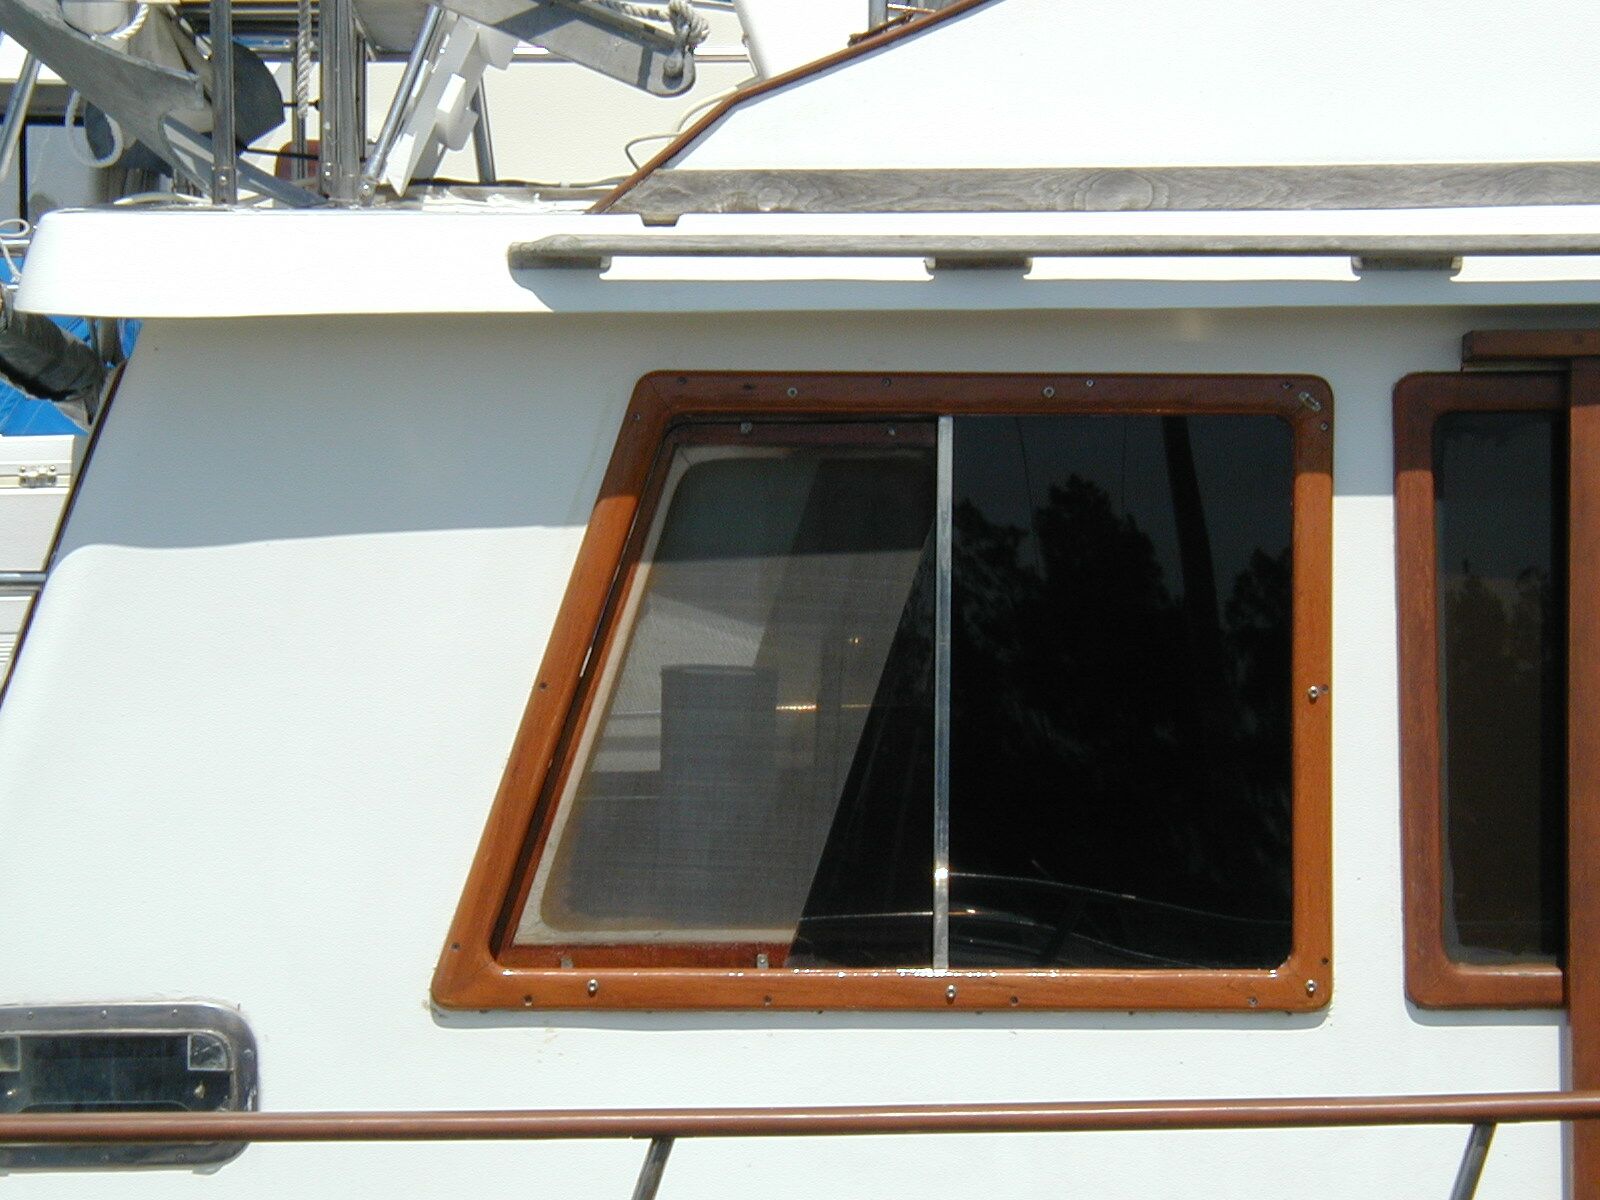
Whether you need to remove the window to repair a leak (as was the case with our former trawler) or to replace cracked glass (as was the case with our current trawler) the process is the same.
(1) Remove the exterior frame;
(2) Remove the glass and channel/track;
(3) Clean the area;
(4) Cut the track/channel to fit;
(5) Replace the glass and track/channel; and
(6) Replace the exterior frame.
The following photos and comments will explain how we did it.
Saloon exterior window frame removed, ready for caulk to be removed.
Saloon window frame with non-sliding glass in place, ready for caulk to be removed.
Temporary enclosure on inside of window sealed at all four sides with weather stripping attached to the temporary panel. Snugged tight with deck screws into 1X2s on exterior of window.

Exterior frame temporarily fastened in place to check fit. Window channels removed and everything ready for replacement of channels and glass.
Same as above but with old channel still in place showing worn fiber strip in old channel.
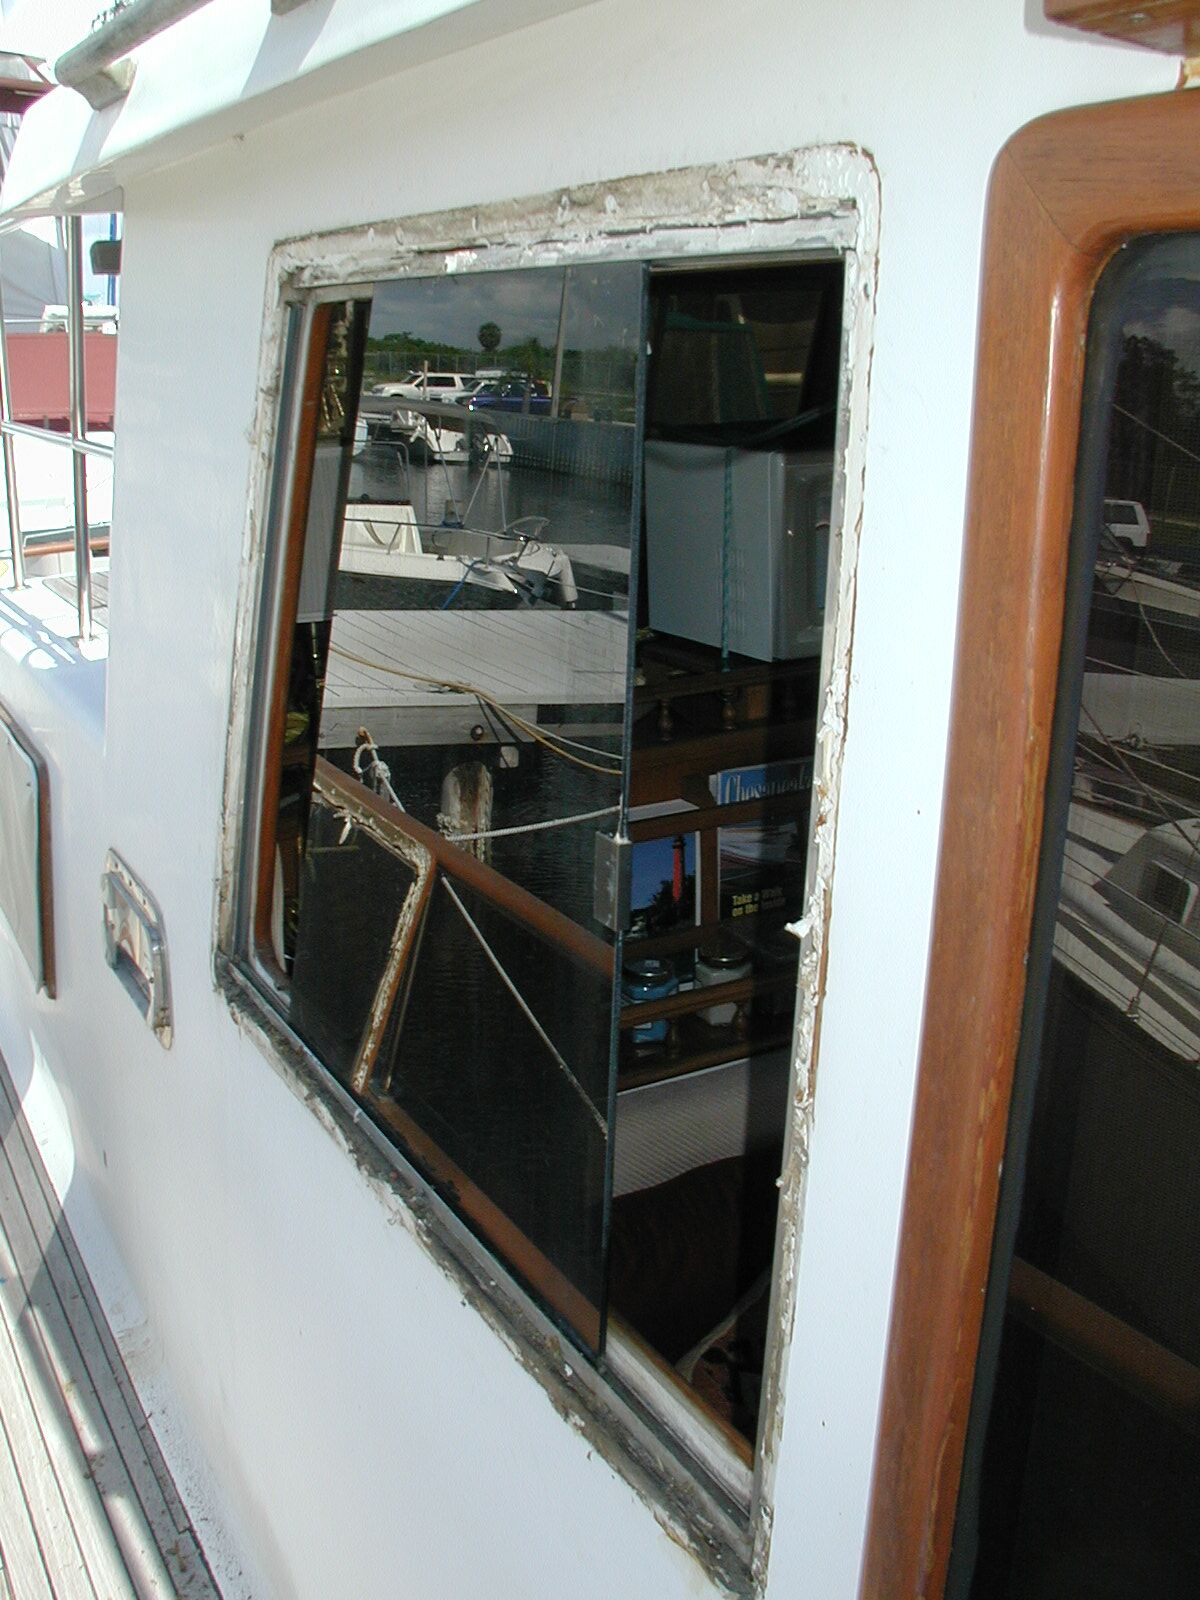
The exterior window frame was removed very carefully so as not to break the teak. First the bungs were removed from the screw holes, then the screws themselves were removed. The old caulk/adhesive was still working quite well, so we used a 1″ putty knife and several small and slim pry bars to work around the exterior of the frame, gently prying it away from the sides of the boat.
The frame and fixed piece of glass came out as one unit; the glass was attached to the exterior frame with caulk/adhesive. The sliding glass remained in the track in the window opening and was eventually removed along with the track.
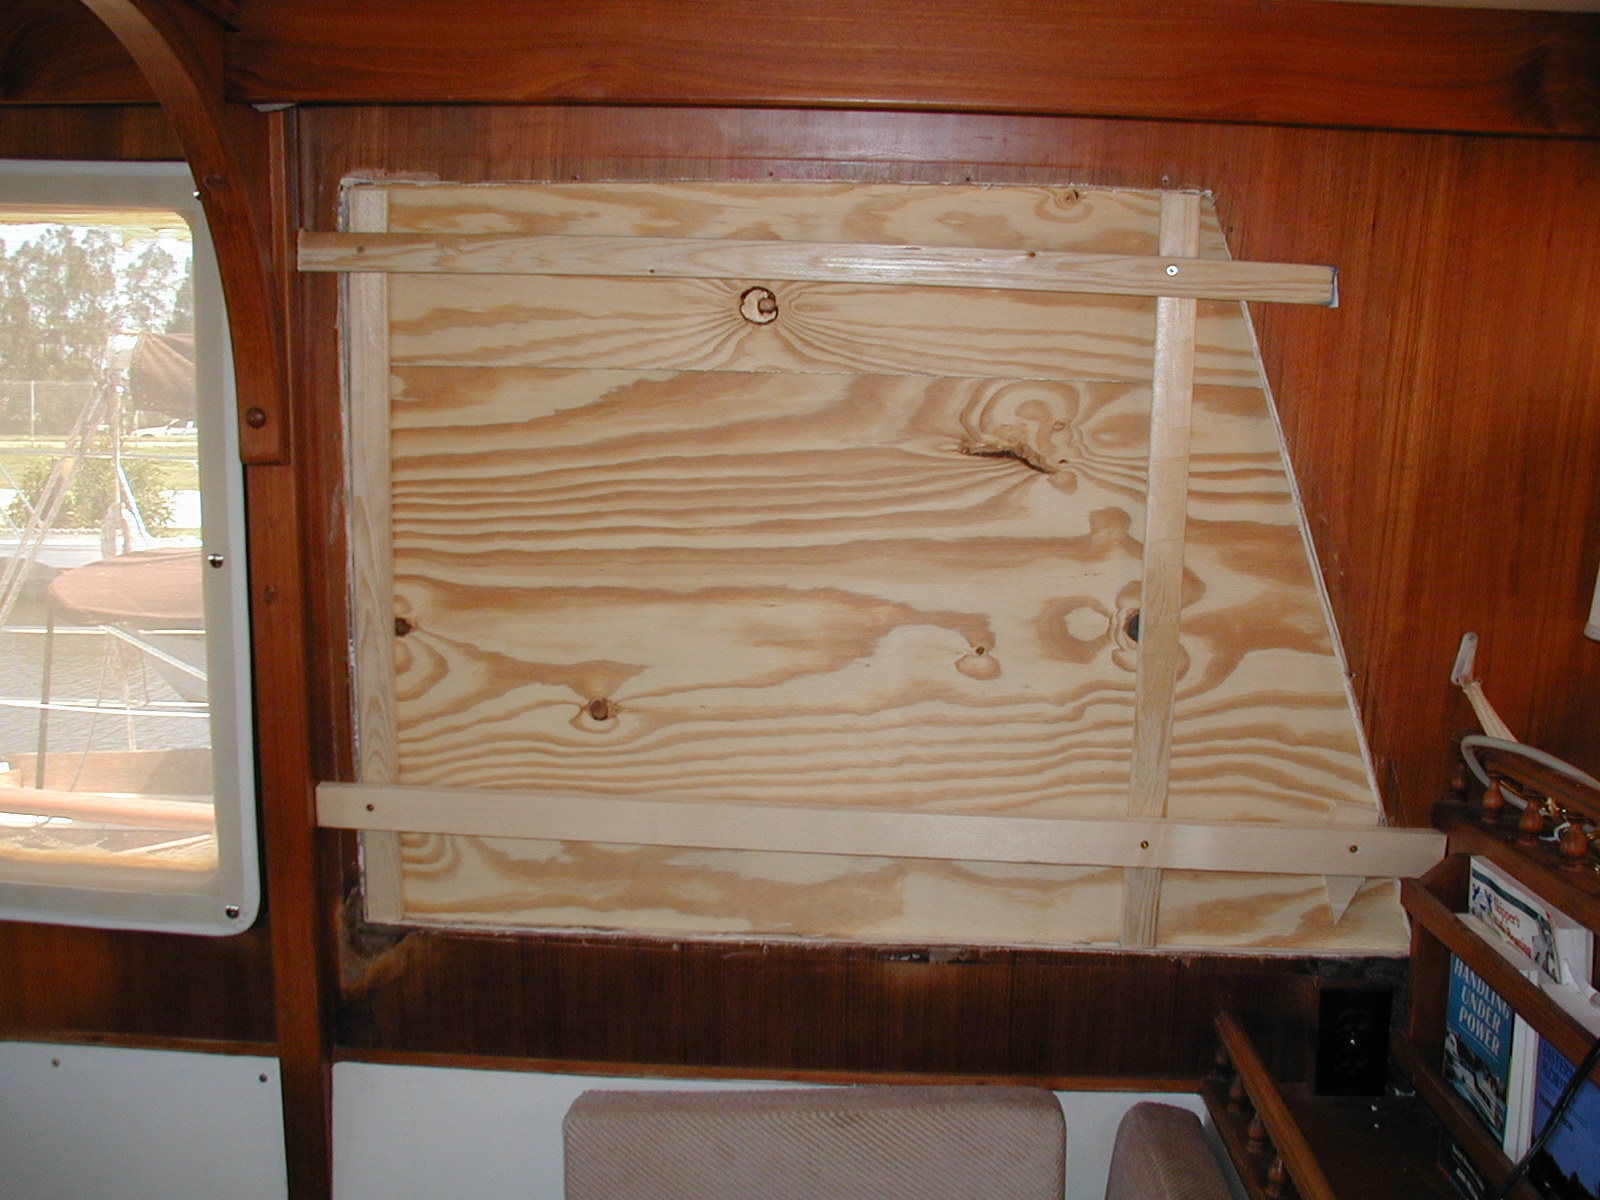
Once the frame and glass was removed we weatherized the opening until we had removed all the old caulk and window channels. This was just cheap 1/4″ ply fastened in place by using deck screws to 1X2s across the outside of the opening. No holes were added to the boat.
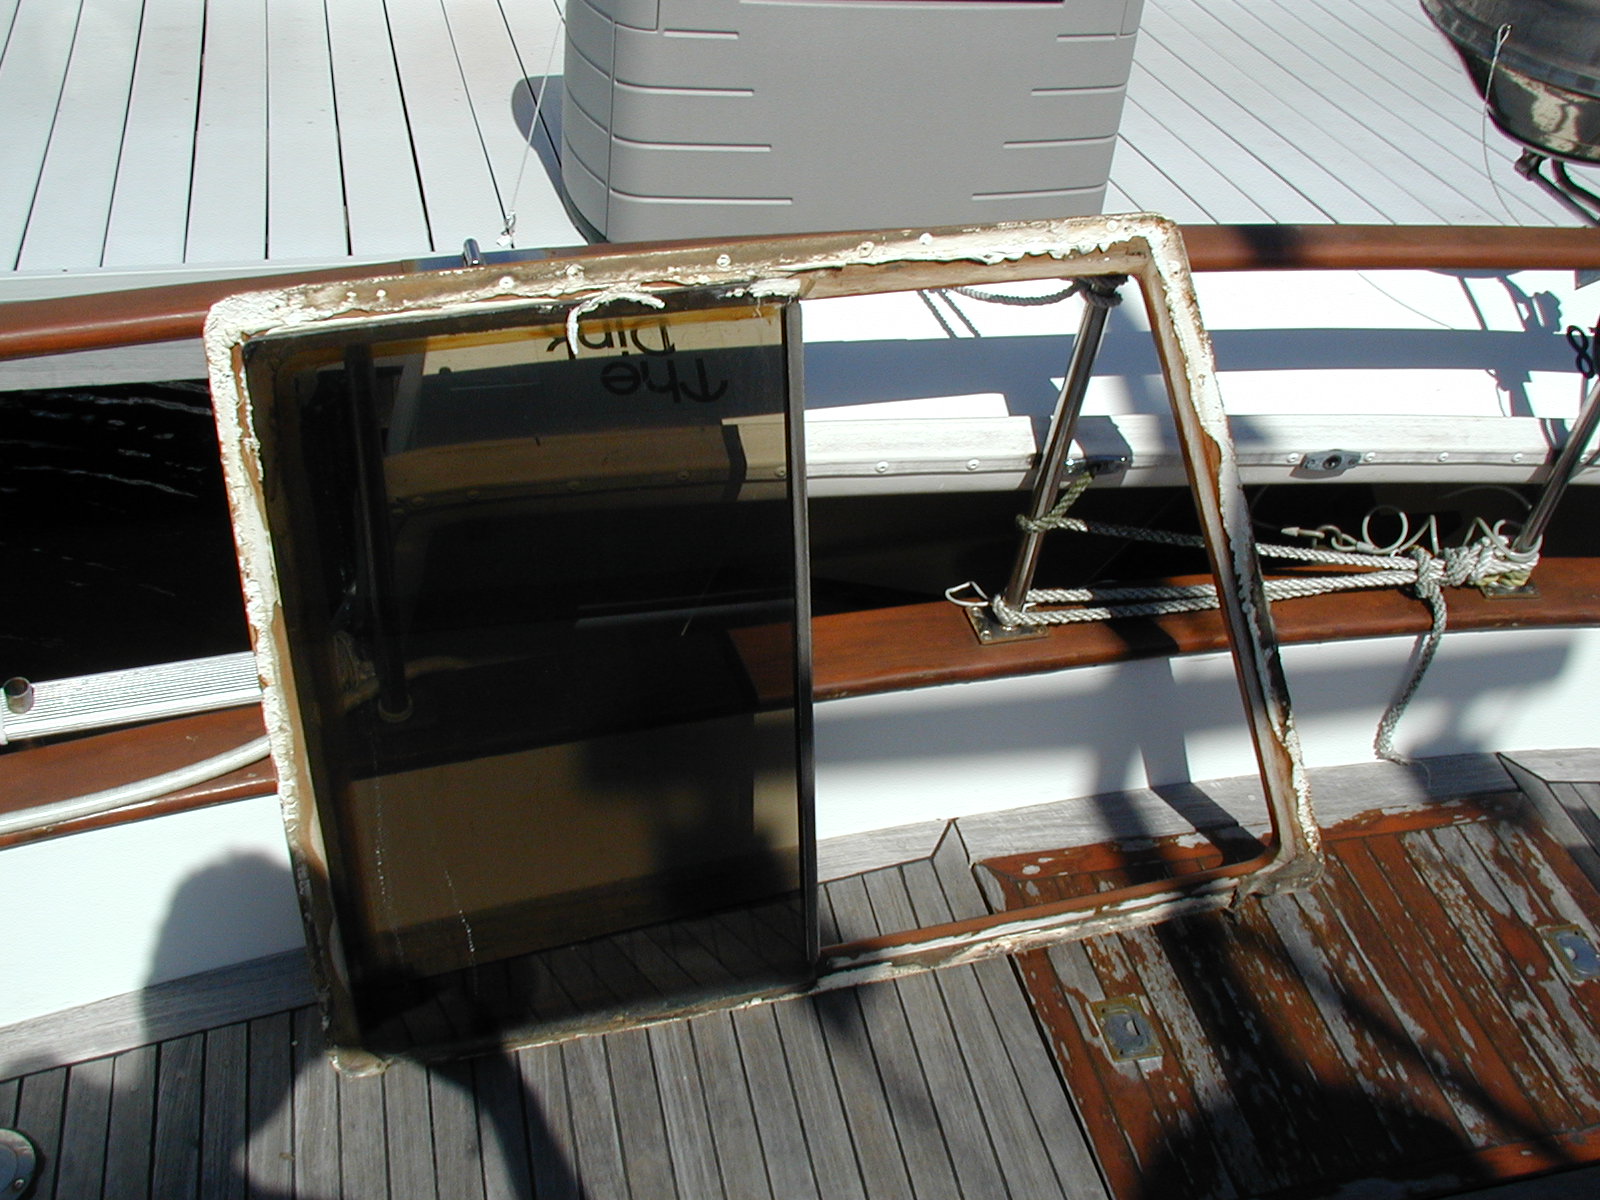
This shows the aft edge of the window opening with the exterior frame fitted into place temporarily. Everything is ready to add the new channels and sliding glass. The fixed glass is fastened to the exterior frame and sits in a rabbet the thickness of the glass cut into the edge of the frame..
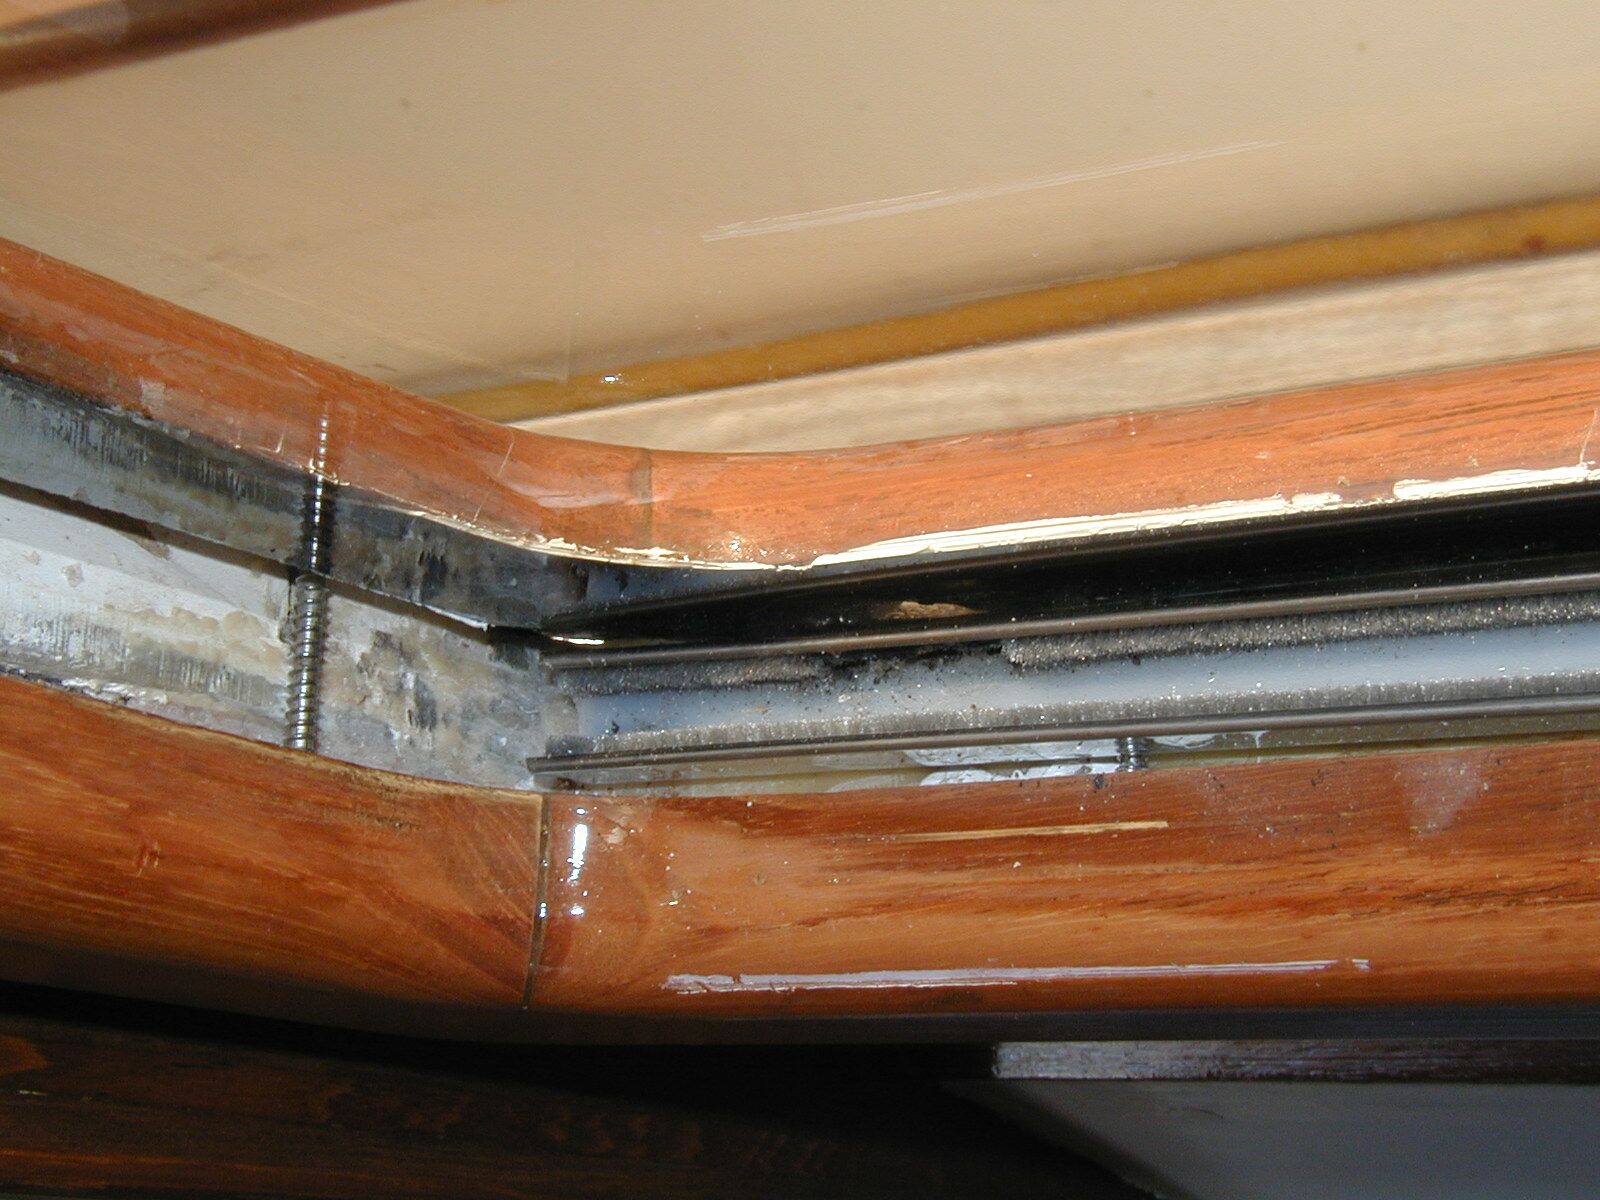
This shows the old channel in place with the worn pile lining. The channel size can vary, but we found the same size channel was used in all the boat’s windows.
New window channels are available from a number of sources, including Defender at http://www.defender.com/product3.jsp?path=-1|6880|2290166|2290167&id=48567
Repair complete. Frame, channels and glass back in place. Only thing remaining is to replace bungs.