
From 1997 to 2007 we owned a Hampton 35 trawler, similar in arrangement to our current DeFever 41 but a bit smaller in all dimensions. One of the projects in common with both boats was the removal and replacement of saloon windows (the earlier trawler due to leaks, the current trawler due to cracked glass from “butt push”).
I can’t find the photos I know I took of the replacement of the glass on our current trawler, but I do have the photos of the work on our former trawler. These photos and comments apply equally to both projects as the windows and framing were very similar on each.
Whether you need to remove the window to repair a leak (as was the case with our former trawler) or to replace cracked glass (as was the case with our current trawler) the process is the same.
(1) Remove the exterior frame;
(2) Remove the glass and channel/track;
(3) Clean the area;
(4) Cut the track/channel to fit;
(5) Replace the glass and track/channel; and
(6) Replace the exterior frame.
The following photos and comments will explain how we did it.
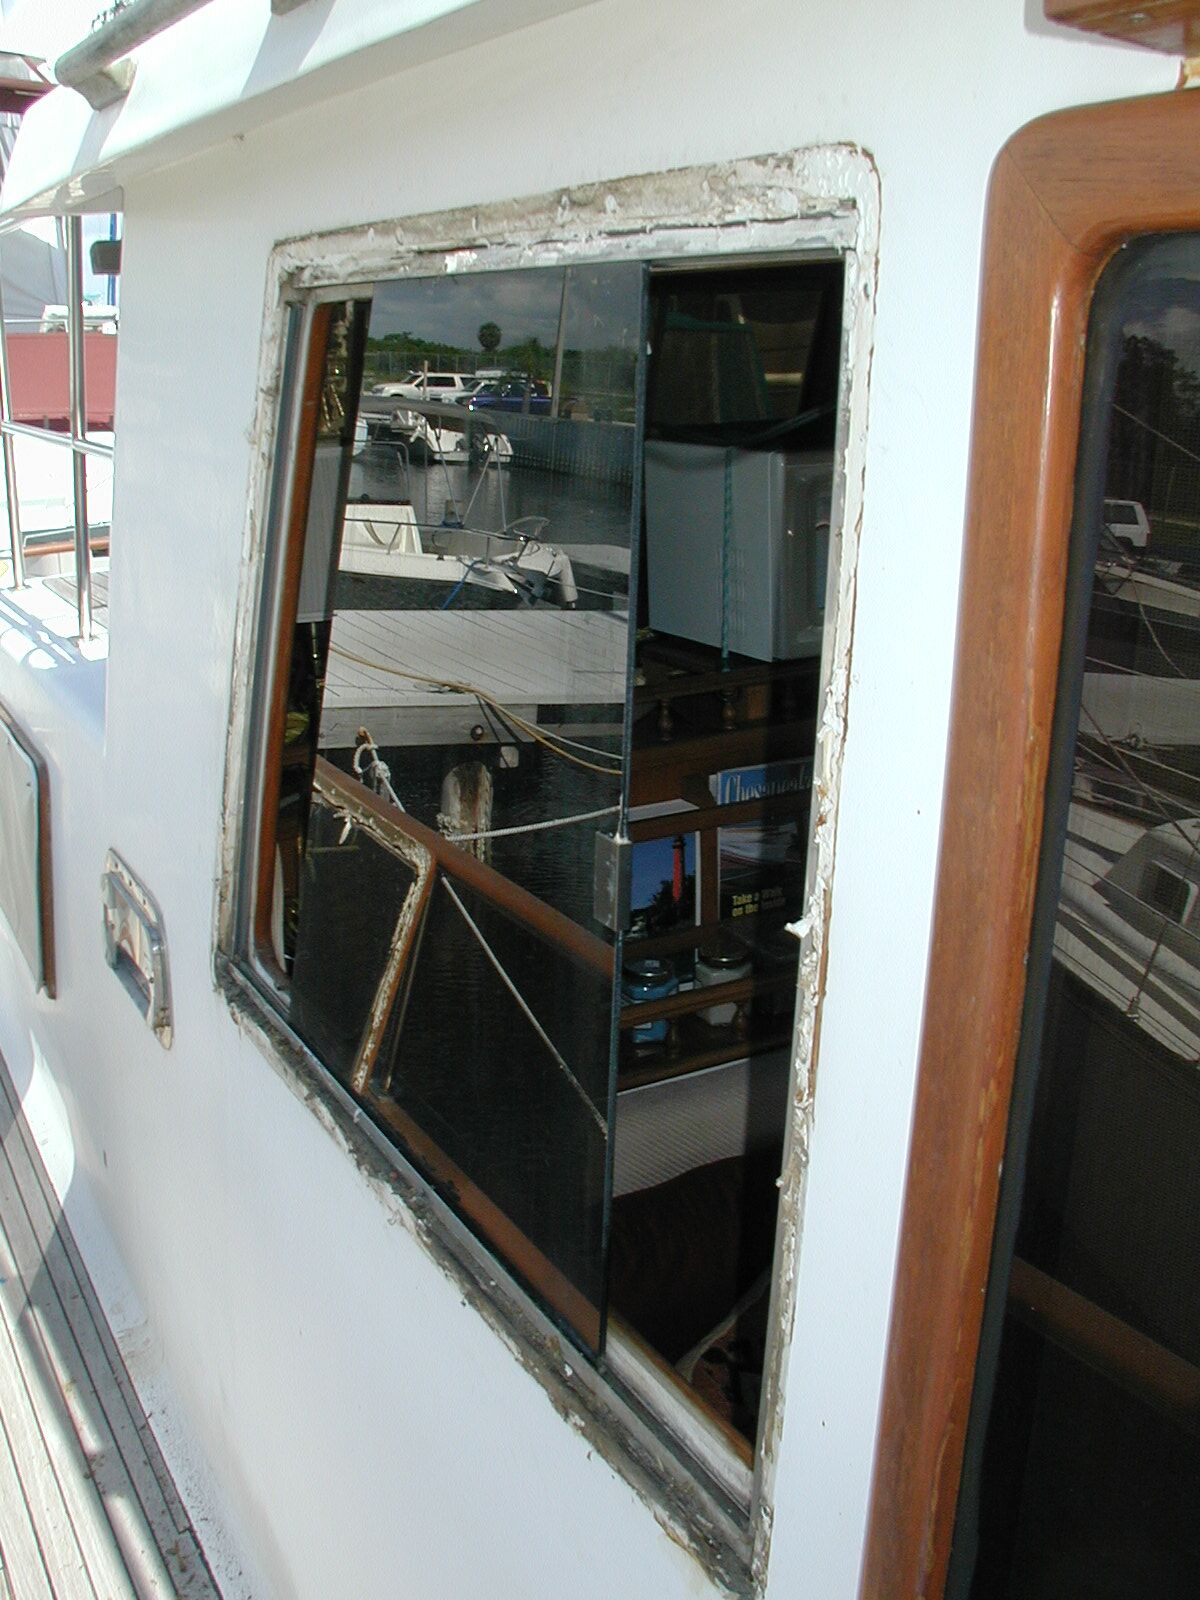
Saloon exterior window frame removed, ready for caulk to be removed.
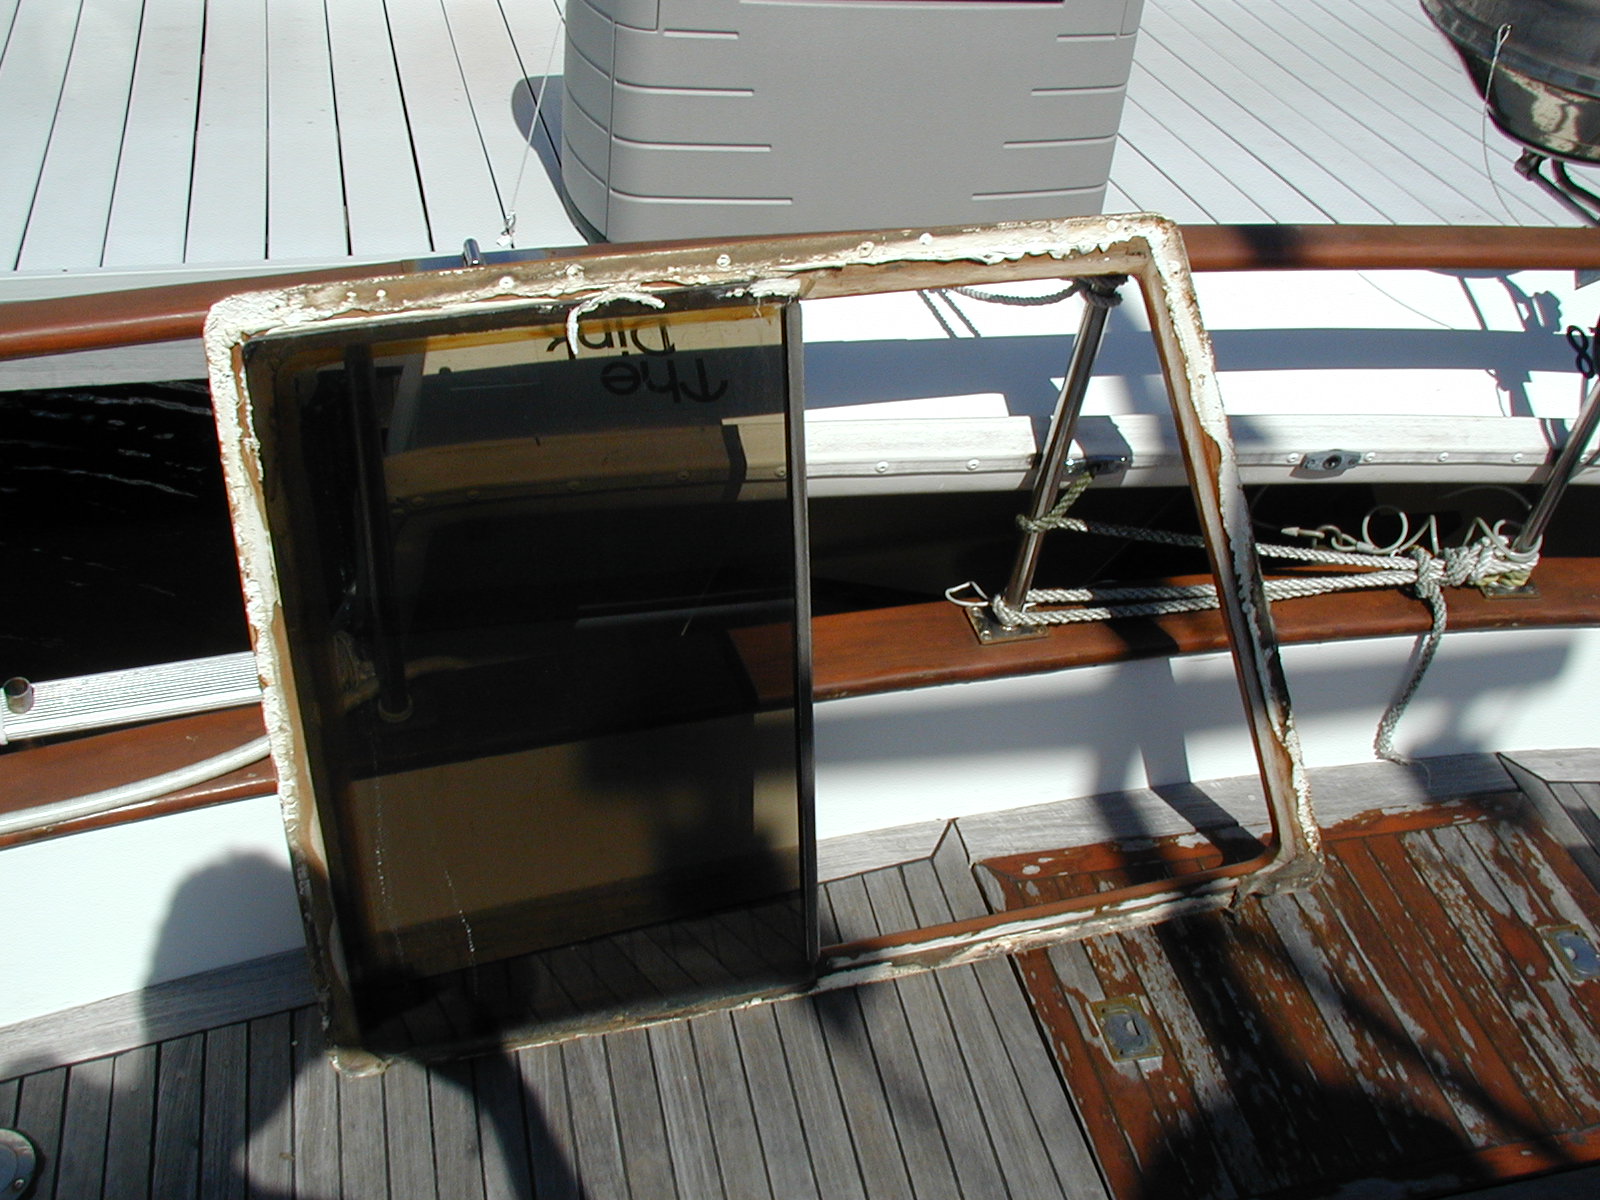
Saloon window frame with non-sliding glass in place, ready for caulk to be removed.
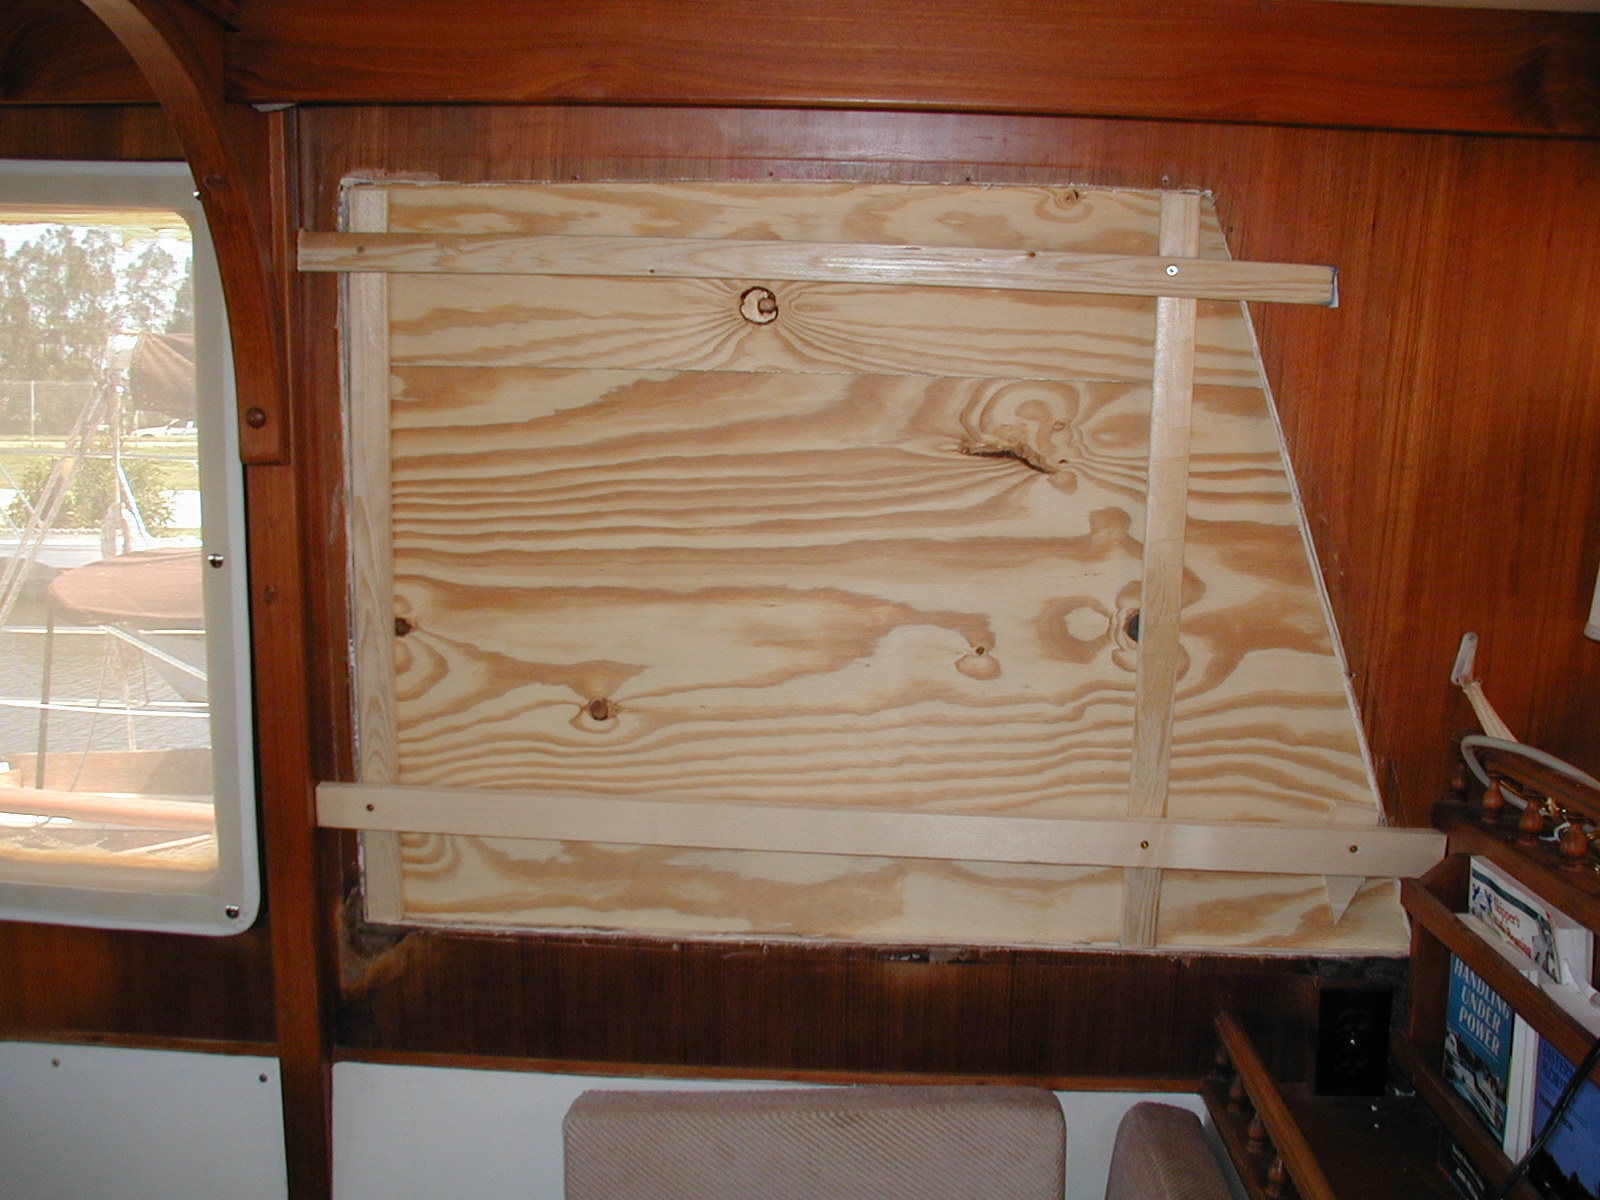
Temporary enclosure on inside of window sealed at all four sides with weather stripping attached to the temporary panel. Snugged tight with deck screws into 1X2s on exterior of window.

Exterior frame temporarily fastened in place to check fit. Window channels removed and everything ready for replacement of channels and glass.
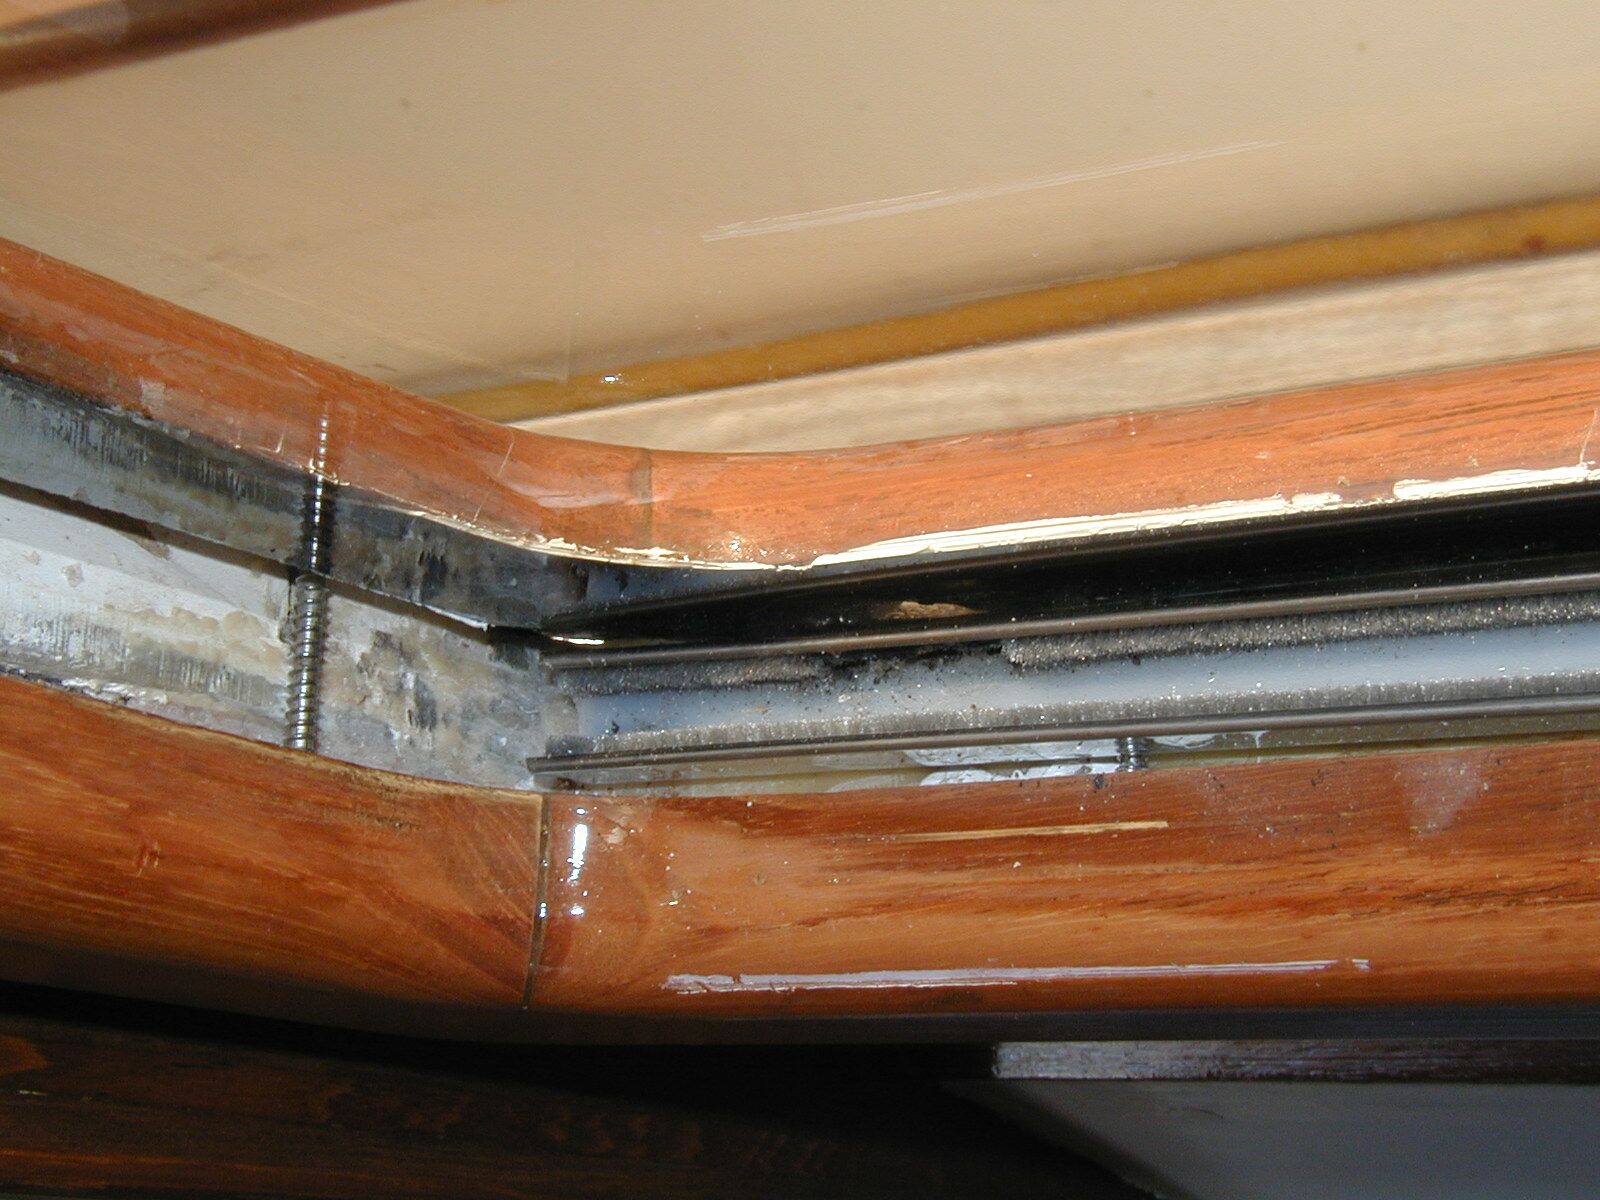
Same as above but with old channel still in place showing worn fiber strip in old channel.
The exterior window frame was removed very carefully so as not to break the teak. First the bungs were removed from the screw holes, then the screws themselves were removed. The old caulk/adhesive was still working quite well, so we used a 1″ putty knife and several small and slim pry bars to work around the exterior of the frame, gently prying it away from the sides of the boat.
The frame and fixed piece of glass came out as one unit; the glass was attached to the exterior frame with caulk/adhesive. The sliding glass remained in the track in the window opening and was eventually removed along with the track.
Once the frame and glass was removed we weatherized the opening until we had removed all the old caulk and window channels. This was just cheap 1/4″ ply fastened in place by using deck screws to 1X2s across the outside of the opening. No holes were added to the boat.
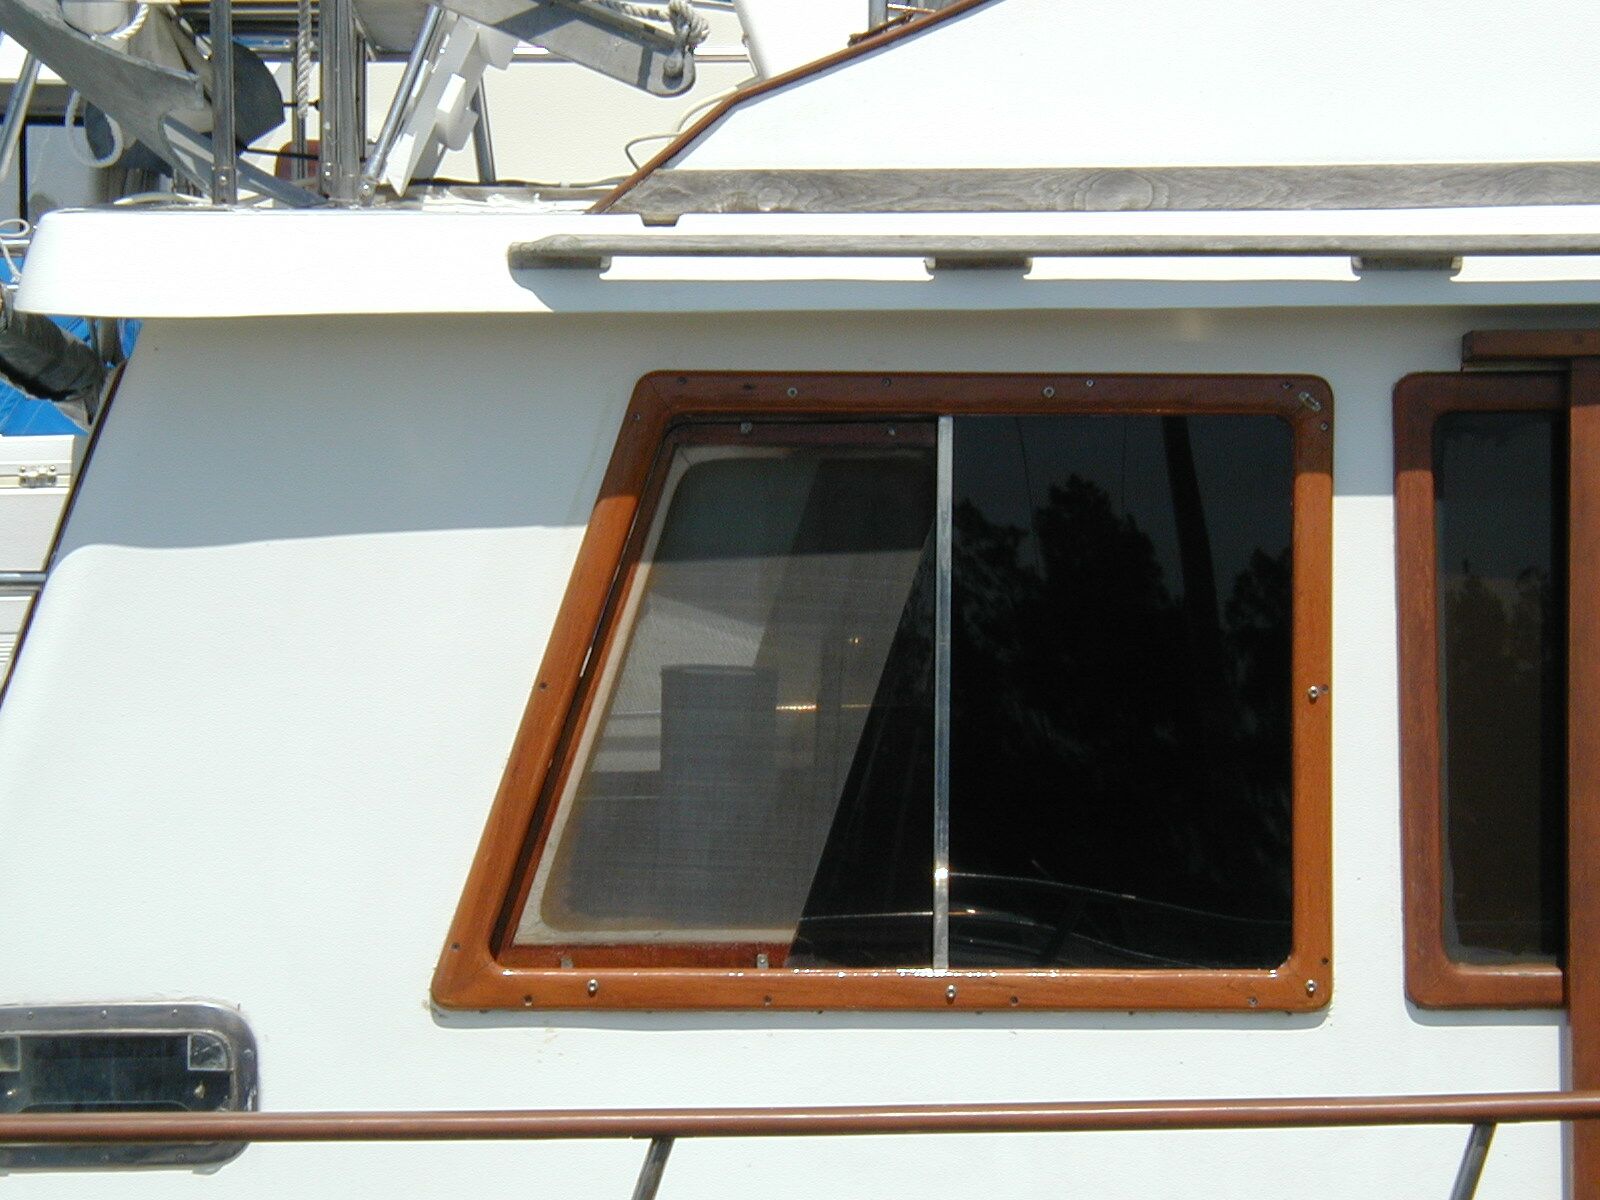
This shows the aft edge of the window opening with the exterior frame fitted into place temporarily. Everything is ready to add the new channels and sliding glass. The fixed glass is fastened to the exterior frame and sits in a rabbet the thickness of the glass cut into the edge of the frame..
This shows the old channel in place with the worn pile lining. The channel size can vary, but we found the same size channel was used in all the boat’s windows.
New window channels are available from a number of sources, including Defender at http://www.defender.com/product3.jsp?path=-1|6880|2290166|2290167&id=48567
Repair complete. Frame, channels and glass back in place. Only thing remaining is to replace bungs.
I enjoyed your post, do you have anymore pictures of the window project.
You said defender has the replacement side track, I will check that out. Where do you get the new glass from, did you use laminated glass. We are restoring a 1979 albin 36 double cabin trawler and are doing all the windows
The window glass replacement was from an auto-glass shop and it is laminated safety-glass. They matched the color and thickness, as well as used the old piece of glass (which was cracked) as a template. It worked out very well. I think in total, on two different trawlers, I’ve replaced three or four windows; all cracks were “butt-cracks” caused by people on the boat putting their butts against the glass while trying to push off from a dock or piling! A 20 ton boat doesn’t move much by muscle power.
I cannot remember the name, model or any specifics about the track. It was dual track, and lined with a pile about 1/8″ thick – very similar to the one which I took out. If you take the dimensions of the track you’re replacing, you can probably still find it at Defender or McMaster-Carr.
Hi Bob,
I really appreciate all your pictures! We have a 41′ 1982 PT Trawler with 5 cracked windows. None of them leak just cracked and look really bad. We have the new glass and just ordered the tracks. The one thing that wasn’t discussed is how is the track held in place? Is it screws, epoxy or silicone? How easy was it to get them out? Also, what type of silicone did you use? I’ve seen a lot of discussion but no concrete conclusion.
Thank you in advance for any advice you can give.
Steve
Above all else, don’t use silicon – it really has no place on a boat as it will cause headaches later. Use something which allows the track to be removed later (if necessary) but is still watertight and holds well. I like 3M 4000 or 4200 (whichever is their current version) and that is probably what I used – I don’t remember specifically. There are several other adhesives/caulks which would work as well.
Bob,
Thanks for the great explanation on window replacement. Are you available for more questions in the future? I’m buying a 1985 36 Grand Banks Trawler that needs window work.
Of course. I’m always happy to talk about anything boat related. When we owned our two trawlers I did a lot of the wood- and fiberglass-type work myself, so am more than willing to discuss anything you have a question about.
Any advice on removing the bungs?
Absolutely. This is a trick I learned at one of the original Trawlerfests after I bought our first trawler back in the 1990s.
Beneath the bung is a screw, usually a Phillips head in an older boat (newer ones may use a square drive, which is better).
(1) Create a flat punch from a large nail or bolt which is slightly smaller than the size of the bung. Common Bungs are 3/8″ so use a 5/16″ nail, with the point cut off to create a flat surface. Center the punch on the bung, and give it a sharp blow with a hammer. This will slightly cave in the sides of the bung and loosen any vanish over the bung without causing damage to the surrounding wood surface (usually).
(2) Drill a small hole in the very center of the bung until it bottoms out on the head of the screw (it just won’t move any further inward at that point). Then, using a short screw slightly larger than the hole and an electric drill, place the screw in the hole and slowly screw it into the hold using the drill. The screw will bottom out on the head of the underlying screw and gently lift the bung out of the hole while still spinning in the drill.
(3) Remove any remaining material in the bung hole with an awl or other tool, as appropriate under the circumstances.
Then tackle the underlying screw which is now exposed. For a Phillips head screw, place a Phillips bit into the X on the screw head and give it a sharp tap with a hammer; this loosens the screw and exposes more of the X’s slots. Then back out the screw using an electric drill. This should remove 90% of the screws (in my experience). The other 10% will require extra effort and sometimes an extraction bit. I’ve also used a impact driver set in reverse to good effect when removing the screws.
Hope this helps.
I read your article. I am changing windows that are delaminating. Is the window frame screwed on from the outside or inside.
Thank you
Sanderling is a DeFever 41. There is an exterior window frame (teak) as well as an interior frame (also teak). Both must be removed. You’ll need to see how it was put together once you remove the frames and then work backwards, more or less, to make the replacement.
Very Helpful! Did you use any wood clue on the corners of the frames? (If they came apart). I have a 34 CHB trawler and replacing two cracks. The side window is easier job then the front center window that opens, that one is very challenging to make sturdy.
How much does this size glass usually cost, I have an estimate for 2 windows of $350, Does that sound right? Marina Del Rey CA
I can’t comment on the cost of replacement glass as my project took place over 15 years ago in Florida and I have no idea what the cost would be now. I did use tinted safety glass (the kind used in vehicles which won’t shatter) from a shop which specialized in replacing car windows (where they cut their own glass). I just took the old piece of glass to them, and they recreated it.
The only adhesive used in the project was epoxy (if I had to build up areas that had deteriorated due to water intrusion) and something like 3M 4200 (which would be non-permanent, unlike 5200) so the frame could be removed later, if necessary to replace the glass again.
Make sure you tell your crew not to leverage against the windows when pushing off from the dock! That will obviously result in “butt cracks!”